
WARDOGS Control Zone
WARDOGS Control Zone
Control Zone is the clearest public description of how a WARDOGS match creates pressure. The mode record has five hard numbers: up to 100 players, three teams, a randomized 2x2 km Control Zone, a 256 km² wider battlefield, and a first-to-100 score. Use the table below as the boundary, then read the surrounding guidance as a way to turn those facts into movement, communication and cash decisions. The zone creates the immediate contest while the wider battlefield determines how much preparation, transport and recovery the contest requires.
STRUCTURED MODE RECORD
Control Zone facts
| Field | Value | Rule / context |
|---|---|---|
| Player scale | Up to 100 players | Match size |
| Team count | 3 teams | Team structure |
| Control Zone | 2x2 km | Randomized active area |
| Battlefield scale | 256 km² | Wider battlefield |
| Win condition | First to 100 points | Majority control scores |
The zone gives the battlefield a center
A randomized Control Zone means the match does not hand every team the same opening route. The active area gives the squad a center of attention, while the wider battlefield gives it room to approach, flank, transport, build or recover. The public record describes the zone as 2x2 km and the overall battlefield as 256 km². Those figures should be read together: one is the immediate contest, the other is the logistics problem around it.
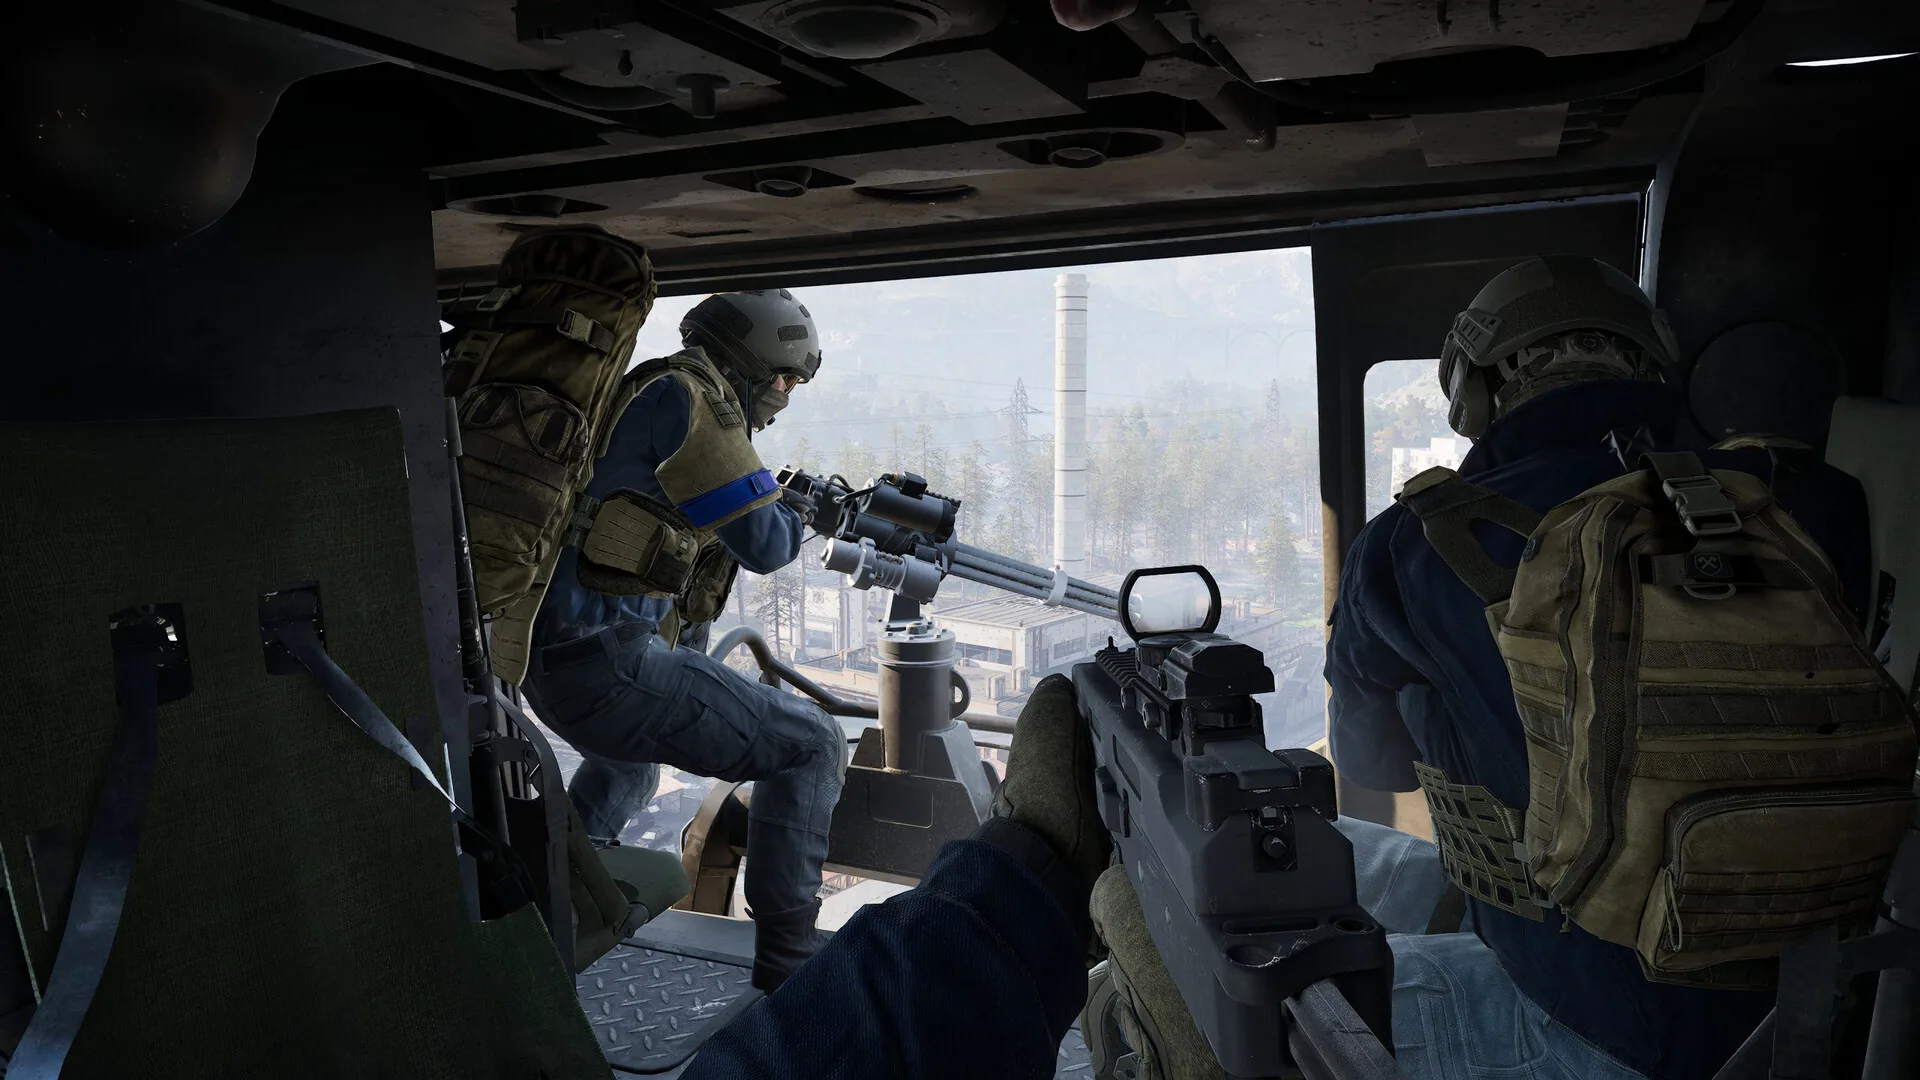
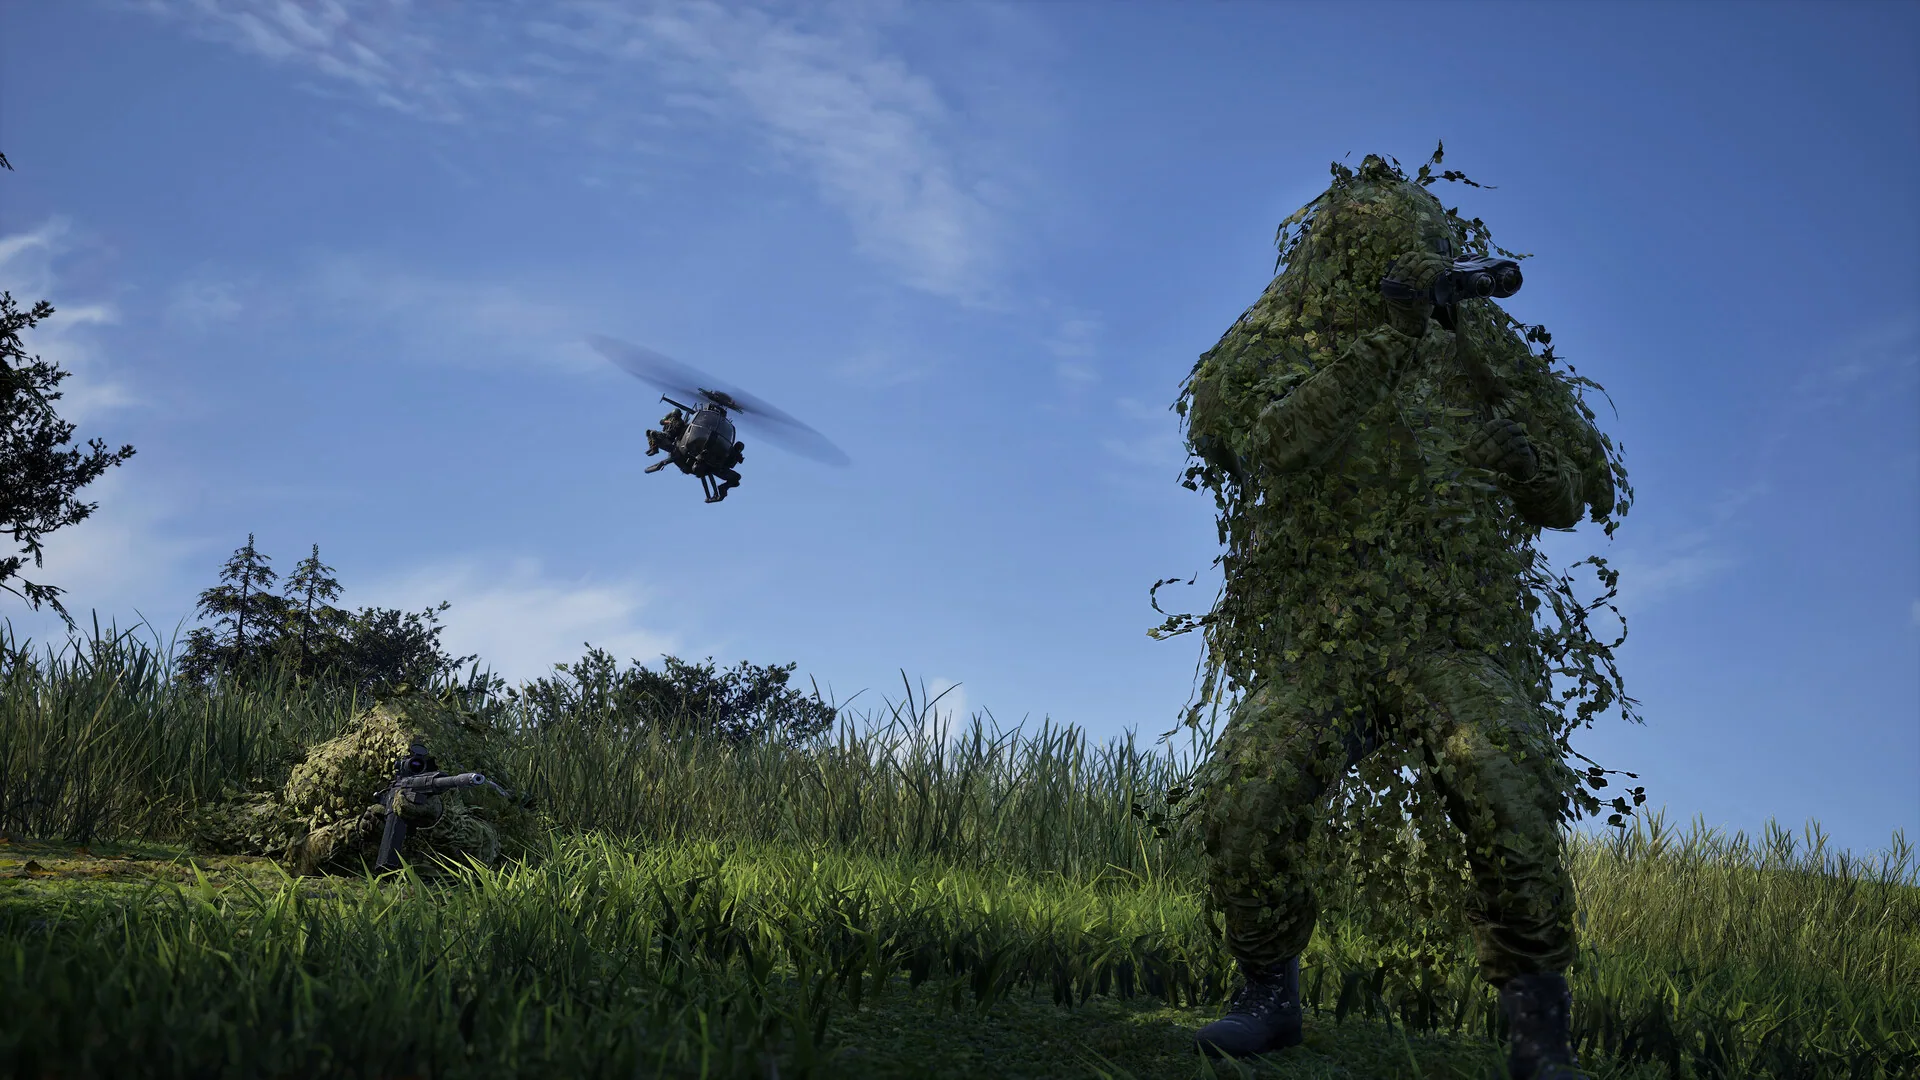
The first move is therefore not simply to run toward the marker. A team needs to decide who can observe the approach, who can carry or revive teammates, and which route can still function after an initial contest. Destruction may alter a line through a structure, construction may create a forward position, and a vehicle may compress a long crossing. The zone is the objective; the route is the team’s chosen argument for reaching it.
The score makes the argument visible. A team that holds the majority of control zones earns progress, and the first team to reach 100 points wins. A player can use the score to judge urgency without needing a complete rulebook: a close contest favors timely coordination, while a large deficit may justify a difficult rotation or a cash-heavy approach.
Three teams change the callouts
Three teams create more than a simple line between two sides. An approach can be contested by a third group, a route can be valuable because it denies another team a safe lane, and a temporary alliance of positions can exist without becoming a permanent rule. The public facts confirm the three-team structure but do not publish a complete diplomacy or scoring system, so the useful practice is to communicate what can be seen and what the next objective requires.
Local Voice Chat fits that scale because proximity determines who needs the information immediately. A pilot needs a destination, an observer needs to share a sightline, a builder needs to announce a usable position, and a support player needs to call when a revive is possible. Short calls reduce the delay between an opportunity and a team action. If voice is not available, movement and visible positioning can still communicate the same intent.
The best callout contains a place, a timing and a task. “Zone edge, thirty seconds, cover the crossing” is more useful than a general alarm. A squad that can make that call while tracking the 100-point finish is using the mode’s public structure rather than treating the map as an unbounded deathmatch.
Majority control is a movement rule
Majority control rewards a team for turning presence into score, not for owning every part of the map at once. That creates a useful sequence: identify the zone, establish an approach, contest or hold the relevant ground, then prepare for the next shift. A player outside the active fight can still matter by protecting a transport route, watching a likely counter-approach or preparing a build that lets the team return after a life.
The first-to-100 condition supplies a clear end point without specifying every point interval. Use it as a reason to ask whether a detour changes the score opportunity. A long flank that arrives after the contest may be less valuable than a modest route that arrives before the enemy. A tank or artillery tank can create pressure, but infantry still has to be ready to occupy the position and keep the majority.
The same rule helps a team ahead on points. The goal is not to chase every visible opponent; it is to make the next control decision difficult for the opposition. Deny a crossing, preserve a revive route, or spend cash to keep a useful position active. The exact tactical answer changes with terrain and player choice.
Cash makes the contest persistent
The Control Zone match and Persistent Cash system are connected by timing. Players start with 10,000 dollars, and public descriptions tie cash to equipment, revives, transport and objectives. A player can spend to arrive, stay, recover or create an opportunity, then carry the result into the next life. The score asks where to act; cash asks what resources make that action possible.
Hot Zone adds a double-cash incentive to the map. It can be tempting to treat that reward as an automatic priority, but the team still has to compare it with the current Control Zone and score. If the group needs a push to reach 100 points, a high-risk cash route may be useful. If the team is about to lose its only approach, a safer revive or transport action may create more value.
A good cash call is visible to other roles. Tell the pilot why the transport matters, tell the support player what the next life needs, and tell the builder which route the position will protect. Persistent resources become a team system when the spend changes how people move around the zone.
The boundary of the mode record
The structured record confirms five facts and leaves the rest for the live product. It does not publish every map name, every point interval, a complete spawn rule, or an exhaustive objective list. That is not a missing detail to fill with genre assumptions. The confirmed mode loop is already enough to plan a first session: find the randomized zone, coordinate three-team movement, pursue majority control, and read the score toward 100.
This boundary also keeps Control Zone separate from the comparison routes. Official language distinguishes WARDOGS from Battle Royale and Extraction Shooter positioning, while a Steam announcement connects the mode’s history to King of the Hill inspiration. Those comparisons explain the public identity; they do not import another game’s rules into WARDOGS.
When the mode changes, use the Field Notes timeline and official Steam news to identify the date and public wording. Return here for the stable numbers only when they remain in the current product record.
A first Control Zone drill
Run one match with a single objective: arrive at the active zone with a teammate and make one task explicit. It can be observing an approach, protecting a crossing, building a forward position, moving a squad by helicopter, reviving after a contest, or taking a cash-minded route. After the action, look at whether the team was closer to majority control or simply closer to a fight.
Run the same question again after the terrain changes. If a route is blocked or an opening appears, adapt the approach rather than repeating the first plan. Destruction and construction make the battlefield a participant in the decision, while vehicles and local voice can change how quickly a team responds. The drill teaches the relationship between the mode’s five numbers and the player’s next action.
For a deeper system read, open the dedicated Control Zone record under Operations, then connect the result to Cash Ledger or Combined Arms.
OFFICIAL RECORD TRAIL
The mode’s core question is simple: what can your team do next that turns presence into majority control and score?