
WARDOGS Control Zone guide
WARDOGS Control Zone guide
This Operations detail record is the compact fact sheet for Control Zone. It keeps the five confirmed fields together: player scale, team count, zone size, overall battlefield scale and win condition. Use it when a match question needs a number first, then move to the longer Control Zone route for the movement, cash and communication decisions those numbers create. It is deliberately narrow, giving a squad leader a fast reference before the wider system page supplies the surrounding choices and route advice.
STRUCTURED MODE RECORD
Control Zone detail
| Field | Value | Rule / context |
|---|---|---|
| Player scale | Up to 100 players | Match size |
| Team count | 3 teams | Team structure |
| Control Zone | 2x2 km | Randomized active area |
| Battlefield scale | 256 km² | Wider battlefield |
| Win condition | First to 100 points | Majority control scores |
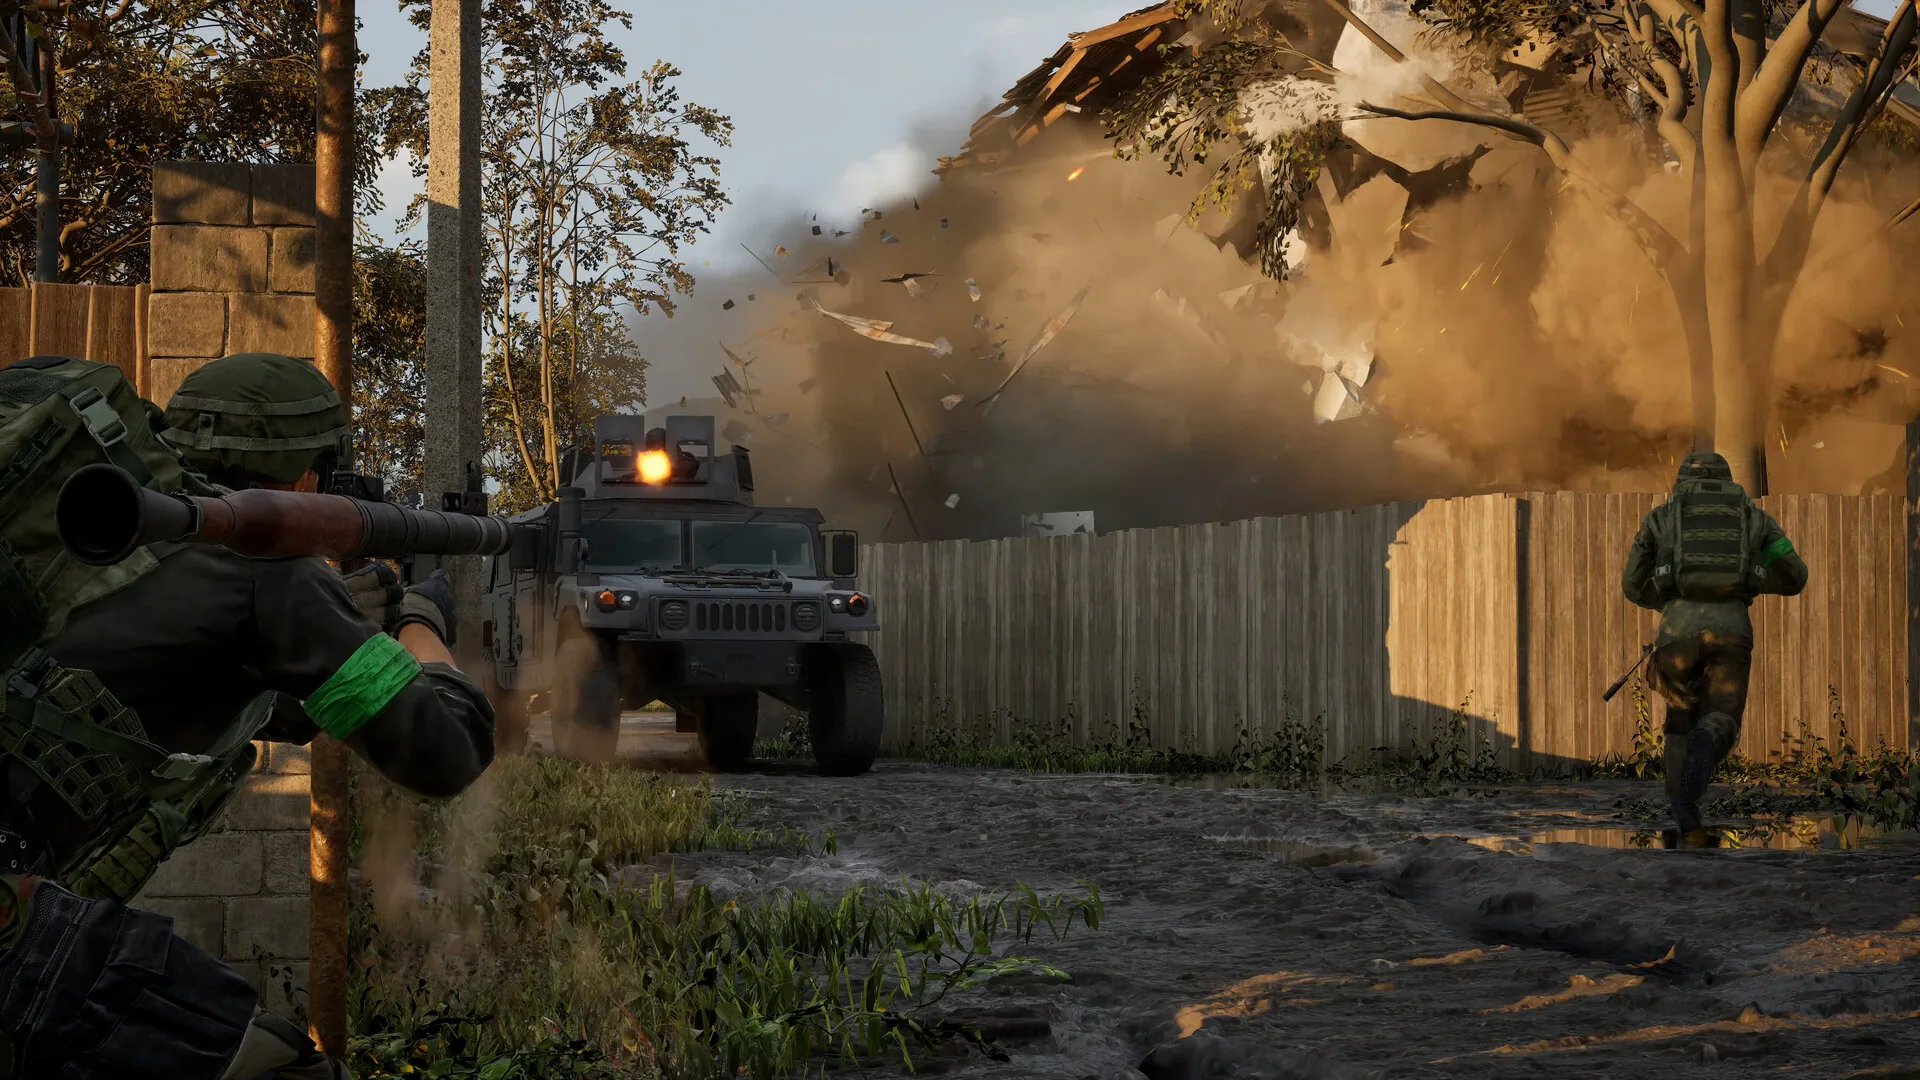
Read the five fields as one system
Up to 100 players and three teams describe the social scale. A randomized 2x2 km Control Zone describes the immediate area of pressure, while the 256 km² figure describes the larger battlefield around it. The first team to reach 100 points through majority control provides the finish. None of the numbers works alone: a zone without the wider route is only a marker, and a large battlefield without a score is only scenery.
For a player, the relationship produces a simple call. Find the zone, decide how the squad reaches it, identify which team task will turn arrival into majority control, and track the score. A transport run can address distance, a builder can address the forward route, a support player can preserve presence, and an observer can make the approach legible. The number becomes useful when it changes one of those decisions.
The public record does not include every map, spawn, interval or point formula. Keep this detail page narrow so the confirmed facts remain easy to verify.
The detail record and the live match
A squad can use the 100-player and three-team figures to set expectations about communication. A single player will not see every route or solve every contest. Local Voice Chat makes nearby information valuable, while vehicles and construction provide ways to move influence beyond the first sightline. The team’s action should be more specific than “win the fight”: hold, cross, revive, transport, build or deny the next control decision.
The 2x2 km area is an immediate problem, but the 256 km² battlefield changes how a team arrives and returns. A score state can justify a fast crossing, a safer flank or a cash-backed transport. The table gives the hard boundary; the longer route supplies the reading of risk. A return route matters as much as arrival because a squad that reaches the zone but cannot reinforce it has not converted distance into control.
Use the table as a callout sheet during planning. Name the team count when assigning communication, name the zone size when choosing transport or a crossing, and name the point target when deciding whether a risky contest is worth another life. Those three references keep a short radio call tied to the confirmed record rather than a guessed rule.
Connect the record to the other systems
Control Zone is where the other systems acquire urgency. Persistent Cash decides which approach or recovery a player can fund. Combined Arms decides whether infantry, helicopter transport, tanks or artillery can alter the route. Building and Destruction decide whether the route remains open. Squad Roles decides who is responsible for the next action. The detail page should be the beginning of that chain, not the end of it.
A useful review happens after the contest. Compare the route chosen with the zone size, compare the resources spent with the score gained, and record which role was missing when the team lost presence. This does not create an unlisted formula; it gives the published numbers a repeatable way to guide the next attempt. Then open Cash Ledger, Combined Arms or the Ready room for the player-facing application.
Use the source-linked current record when a number matters to a purchase or a team plan. A fact sheet is strongest when it sends the player to a specific next page: money for recovery, vehicles for distance, terrain for route change, or squad roles for responsibility.
The shortest practical drill
In one session, call out the zone, choose a route, and name the action that should create majority control. After the attempt, compare the result with the score and the resources spent. If the route failed, decide whether distance, information, support, construction or timing was the missing field. That diagnosis points to the next system record and gives the five-field table a real use. Write the result beside the date of the session so a later public update cannot be mistaken for the condition you actually played under. A short debrief can preserve the exact number that changed the decision, whether that was the point target, the zone scale, the team count or the wider battlefield distance. Add the teammate or vehicle that could have changed the result, then test that one adjustment in the next session. This makes the small record useful without expanding it beyond the published facts.
OFFICIAL RECORD TRAIL
Five fields, one question: how will the team turn this zone’s location into the next point?