
WARDOGS beginner guide
WARDOGS beginner guide
The Ready room turns WARDOGS’s large public description into a first-session plan. You do not need a full vehicle roster or a perfect squad call to begin. You need to locate the current objective, understand what cash can change, and choose one responsibility that gives nearby teammates a reason to work with you. Use the checklist, then follow the linked records when a match creates a specific question. The four steps are deliberately small: access, zone, responsibility and one cash-backed action give the first deployment a measurable shape.
FIRST SESSION CHECKLIST
Four decisions before the first push
Begin with the current boundary
The current public state is pre-release, with Steam and Team17 listing Early Access for 2026-09-10. Steam identifies Windows as supported and provides the product entry for the game. That makes the first practical task an access check: open the official listing, read the current purchase or request path, and treat the live store text as the place where platform and date changes appear first. Do not build a session plan around a date copied from an older announcement.
Once access is clear, think in team terms. WARDOGS can place up to 100 players across three teams, but those figures are a reason to communicate early rather than a reason to wander alone. Local Voice Chat is intended for nearby coordination. A short call about a route, revive, transport or build position can prevent duplicated effort. If voice is not available, the same principle works through movement: follow a teammate’s useful action and make the next action easier.
The first match is not an exam on every system. Choose one of the confirmed responsibilities: observe from infantry, support and revive, transport teammates, build a forward position, or contest an objective while tracking cash. Each route has a different risk. The checklist below marks the decisions that let you evaluate that risk without needing an invented class system or a complete weapon guide.
Find the zone before you find a fight
Control Zone is the most useful first landmark because it turns the battlefield into a shared task. The zone is randomized and described as 2x2 km, while the surrounding battlefield reaches 256 km². Teams compete for the majority of control zones, and the first to 100 points wins. Read those numbers as a movement rule: the current area tells you where value is being created, and the larger map tells you that the route to it is part of the problem.
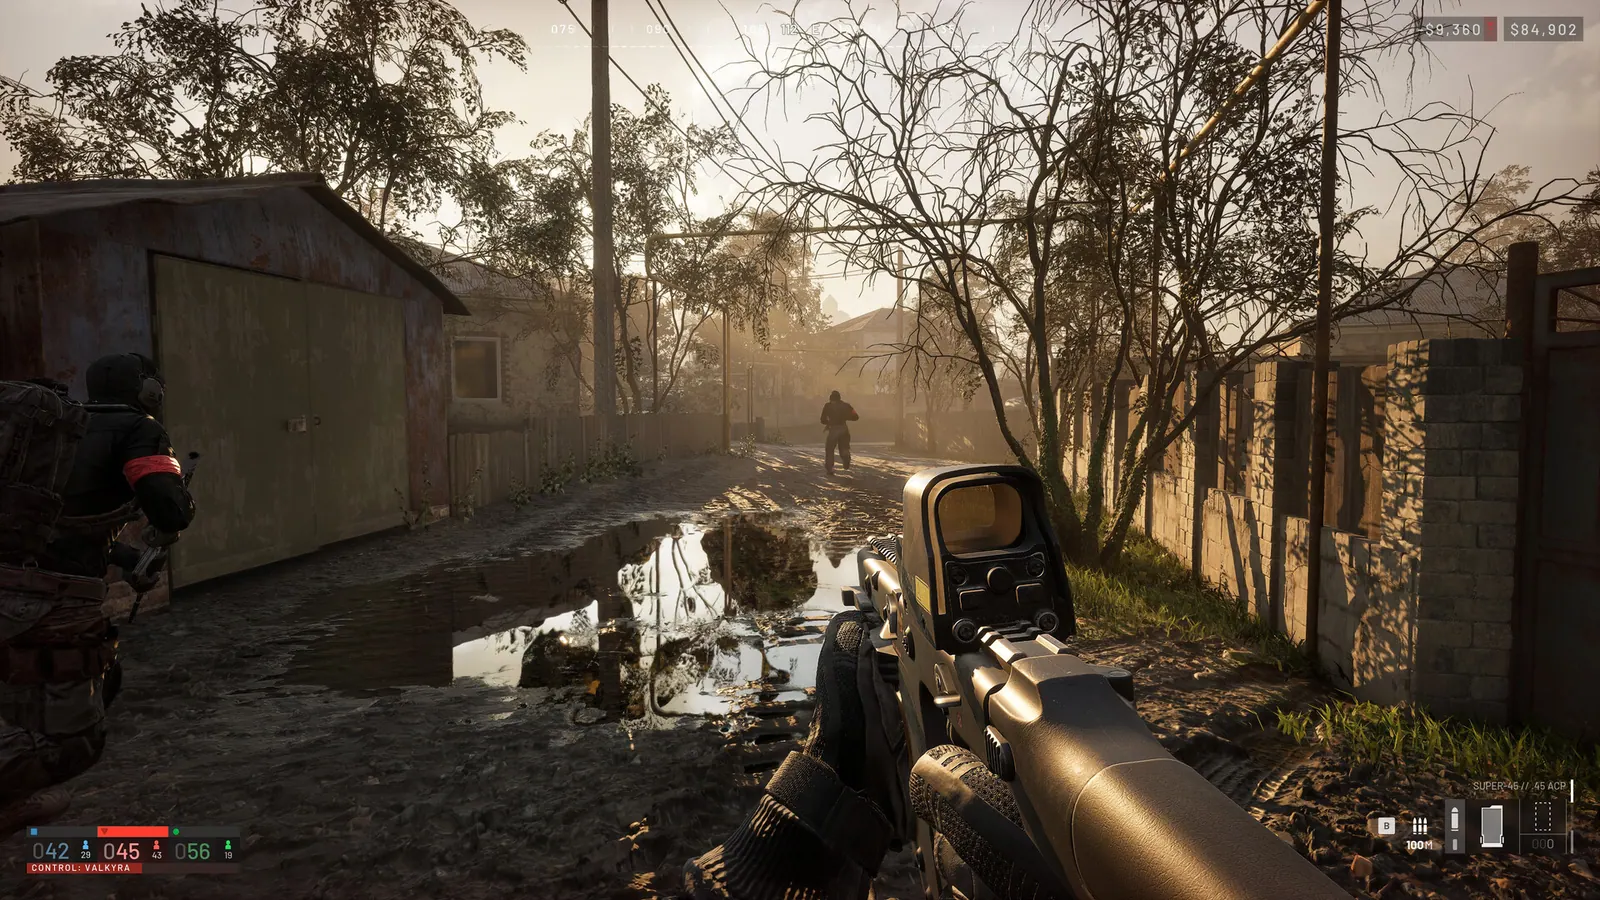
A first approach should answer three questions. Which teammate is already moving toward the objective? What terrain gives the group a way to observe or cross? Which retreat, revive or transport option remains if the first push fails? A player who answers those questions can make a useful contribution before winning a duel. Construction and destruction add another layer: a forward position can protect a route, while damage to a structure can open or close it.
The score should change the urgency of your choice. A team behind on points may need a coordinated contest rather than another isolated fight. A team ahead may still need to deny the next rotation. The official material does not supply a complete scoring formula beyond majority control and the 100-point finish, so use those confirmed rules as the boundary and learn the rest through play.
Spend the first cash with a reason
Every player starts with 10,000 dollars in the public product description. Persistent Cash can influence the choices between lives, equipment and battlefield actions. The important first question is not “what is the most expensive option?” but “what does this purchase let the squad do next?” A transport run, revive attempt, objective push or position repair may justify spending when it changes a team decision rather than merely improving a personal statistic.
Cash can also come from action. The confirmed examples include rescue, transport and objectives, with Hot Zone described as a double-cash area. That creates a visible trade: a high-reward route may expose the player to more danger, while a safer route may protect cash for a later life. Track the result of one decision at a time. If a purchase creates no new option, save the resource and learn what the next approach requires.
The Cash Ledger gives the economy its own page because money is part of the match’s tactical language. A player who calls for a revive, carries a teammate, or takes a useful objective is interacting with both the score and the resource loop. That makes support play concrete. It also makes failure readable: losing a life can change the next loadout, but the persistent resource means the decision continues beyond one spawn.
Select a responsibility, not a fixed class
WARDOGS’s public language supports several playstyles without presenting a locked class roster. Infantry and observation favor information and deliberate engagements. Support and revival favor keeping the squad functional. Transport and piloting connect distant teammates to the active objective. Building and engineering shape a forward point. Objective and cash play turn movement and risk into a resource decision. Choose one responsibility for the first session, then notice what the team lacks.
A transport player should ask where the next group needs to arrive, not only whether the vehicle can travel there. A builder should place a position that supports a route the team is already using. An observer should share a useful sightline instead of holding a distant angle that does not affect the zone. A support player can make a contested push sustainable by prioritizing a revive over a second isolated duel. Each role becomes stronger when it connects to Control Zone timing.
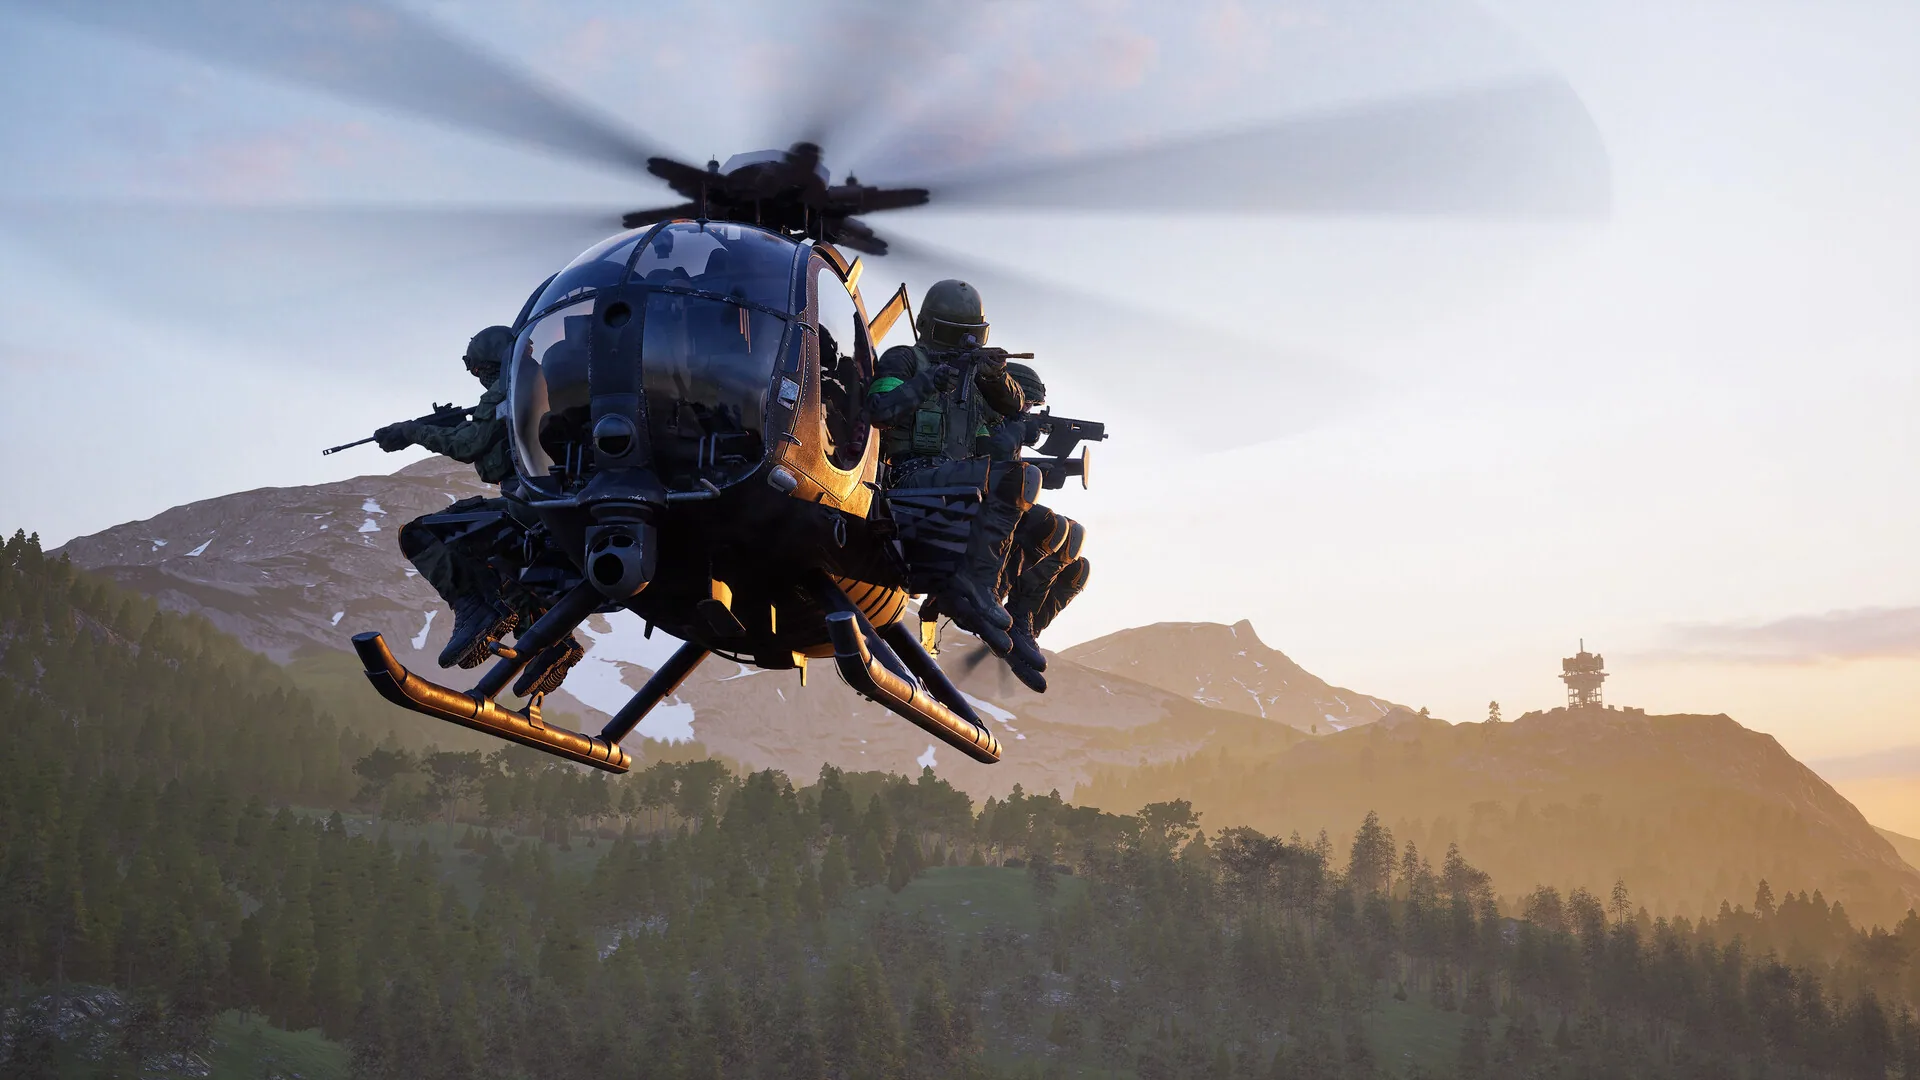
Combined Arms makes those responsibilities overlap. Helicopter transport, Littlebird movement, tanks and artillery tanks are listed as official examples, while infantry remains the person who identifies and occupies the important ground. The best first-session test is therefore simple: make one action that helps another role succeed, then follow the result.
Review the route after the match
A useful debrief has three lines. First, note which route actually reached the Control Zone and which route looked good only on the map. Second, record whether cash changed your next life or sat unused. Third, decide whether the squad needed information, movement, construction, rescue or score pressure. These observations are more valuable than a generic win-rate summary because they point directly to the next responsibility to practice.
Terrain, building and destruction can make the answer change from one match to the next. The official screenshots show infantry, vehicles, damaged structures and broad environments, but they do not constitute a complete map. Use them as visual context, then trust the live objective and the team’s movement for the immediate decision. The Field Notes route can explain why the public build state matters when a future update changes the rhythm.
When the session is complete, return to the release boundary. Early Access is the current listed destination, not a guarantee that every later plan is already available. The Field Guide answers recurring questions, the Launch Brief collects platform and date records, and the official Steam page remains the access surface to verify before the next deployment.
The first-session checklist
Use the interactive checklist as a compact preflight. Confirm the official access path, locate the active Control Zone, choose a team responsibility, and make one cash-backed action. The controls save their state locally so a player can leave and return without losing the plan, while the progress line remains visible to assist keyboard and mobile use. Checking every item is not a claim that the session is complete; it is a prompt to practice the four decisions that make the larger battlefield legible.
If the first session goes poorly, keep the review specific. Was the route too long for the score state? Did a revive or transport call arrive too late? Did spending leave no option for the next life? Did a built position connect to a real approach? Those questions point to a system record rather than a vague feeling that the match was chaotic. WARDOGS has enough scale to create confusion, so a small, repeatable question is the best way to turn it into information.
The next route should follow the task you discovered. Control Zone explains the win condition, Cash Ledger explains persistence, Squad Roles explains contribution, and Combined Arms explains how movement and fire interact. That reading order keeps the first session attached to a player action instead of turning the manual into a catalogue detached from the match.
OFFICIAL RECORD TRAIL
When the four tasks are familiar, move to the Operations index for the shortest route to any system record.